What is Ghidra?

Ghidra is an open source reverse engineering tool released a few years ago by the United States's National Security Agency. Ghidra has quickly become one of, if not the, most widely used tools to pull apart malware or learn reverse engineering due to its low barrier of entry and widely available tutorials produced by the reverse engineering community.
In this short tutorial we will walk through the steps to install Ghidra on a fresh Linux installation, including installing the appropriate Java JDK (Java Development Kit) to match the latest Ghidra release. At the time of writing the latest Ghidra version is 11.0 which was released in Dec 2023.
Step One: Download Ghidra
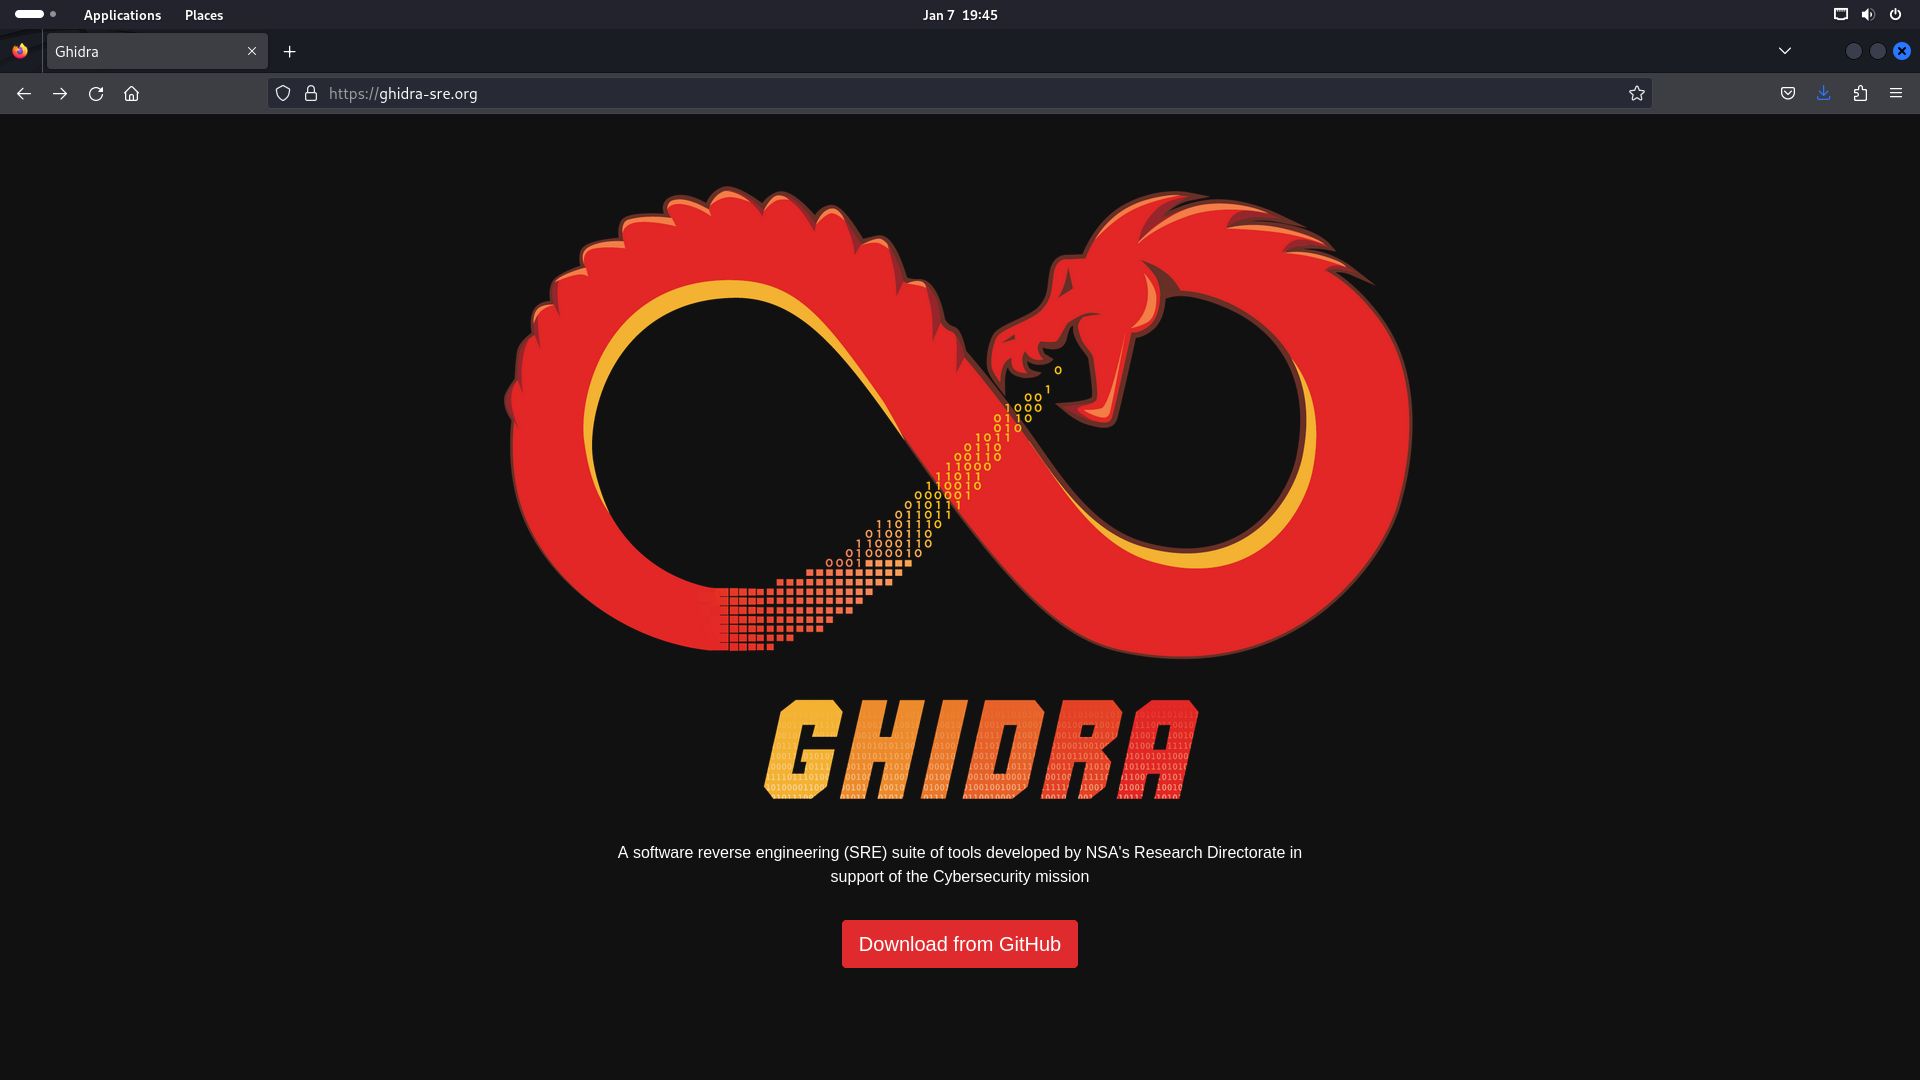
The first step we need to install Ghidra is of course to download the latest version. We can open our web browser and navigate to ghidra-sre.org to find a direct link to the Ghidra Github repository.
Once on the Github page we can download the latest version as well as a link to the Official Ghidra installation guide. If you face any issues getting Ghidra up and running the official guide may have the answers you are looking for Ghidra Official Install Guide
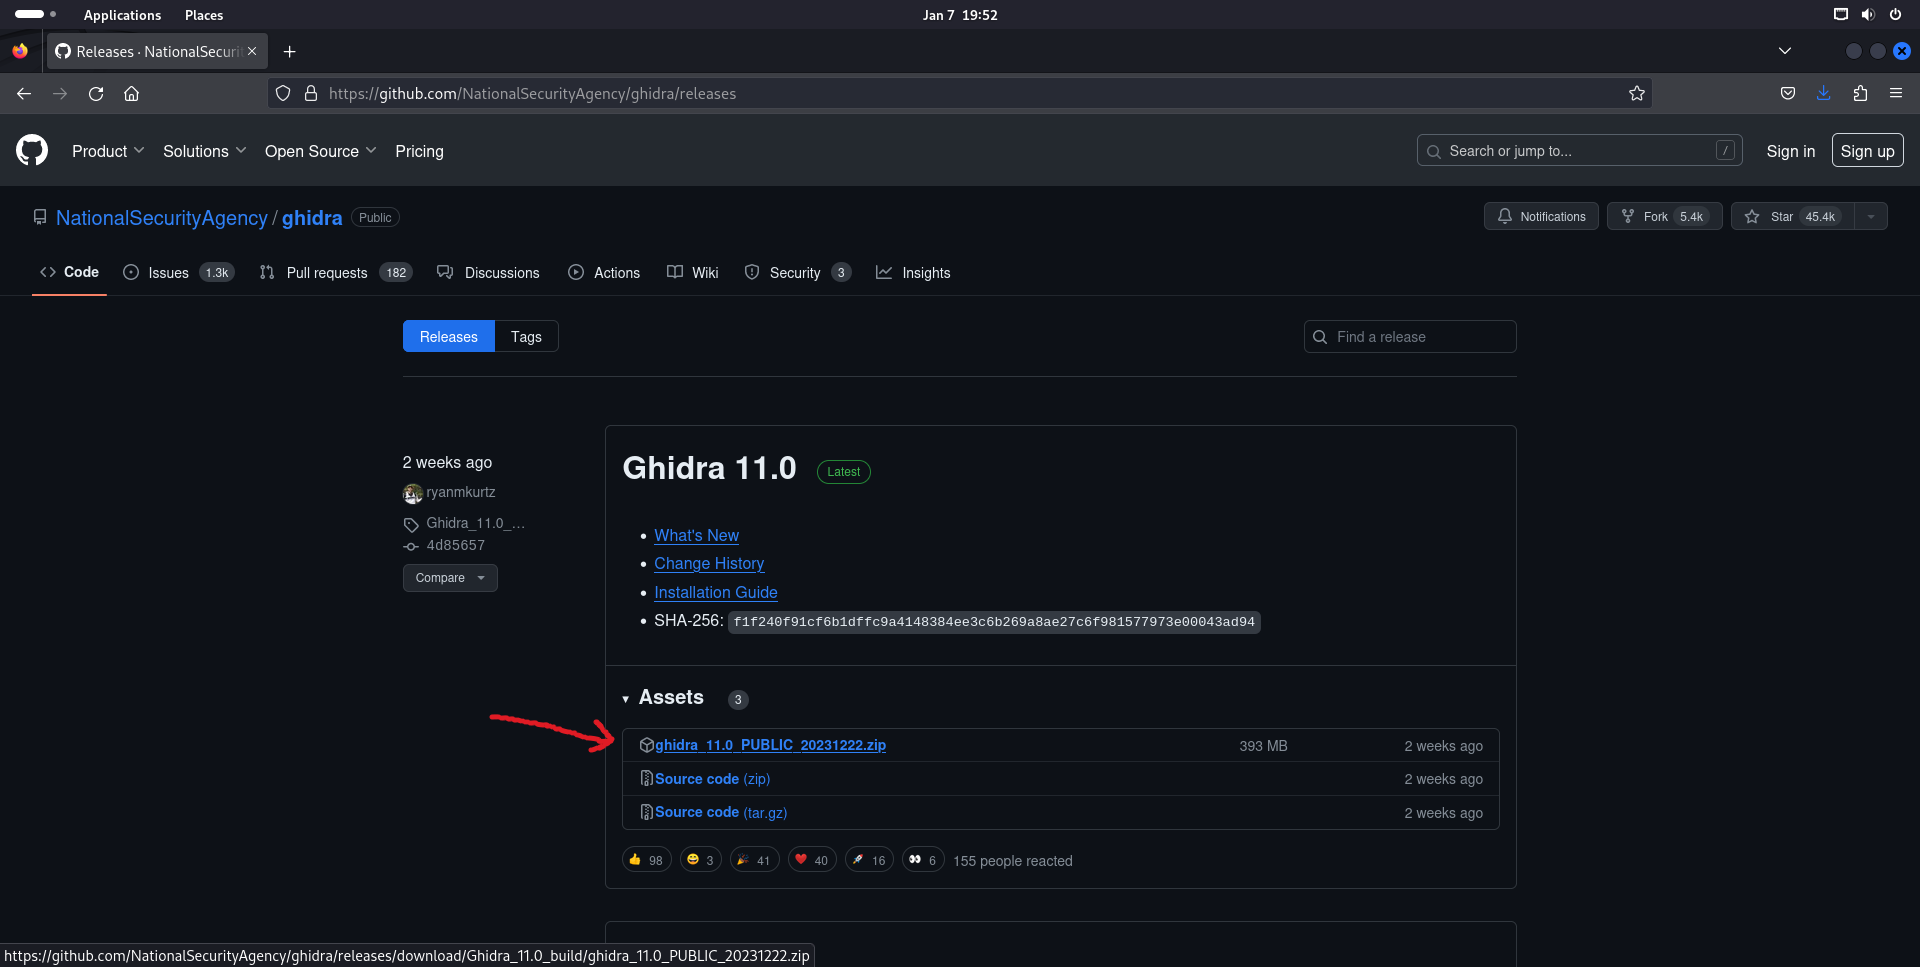
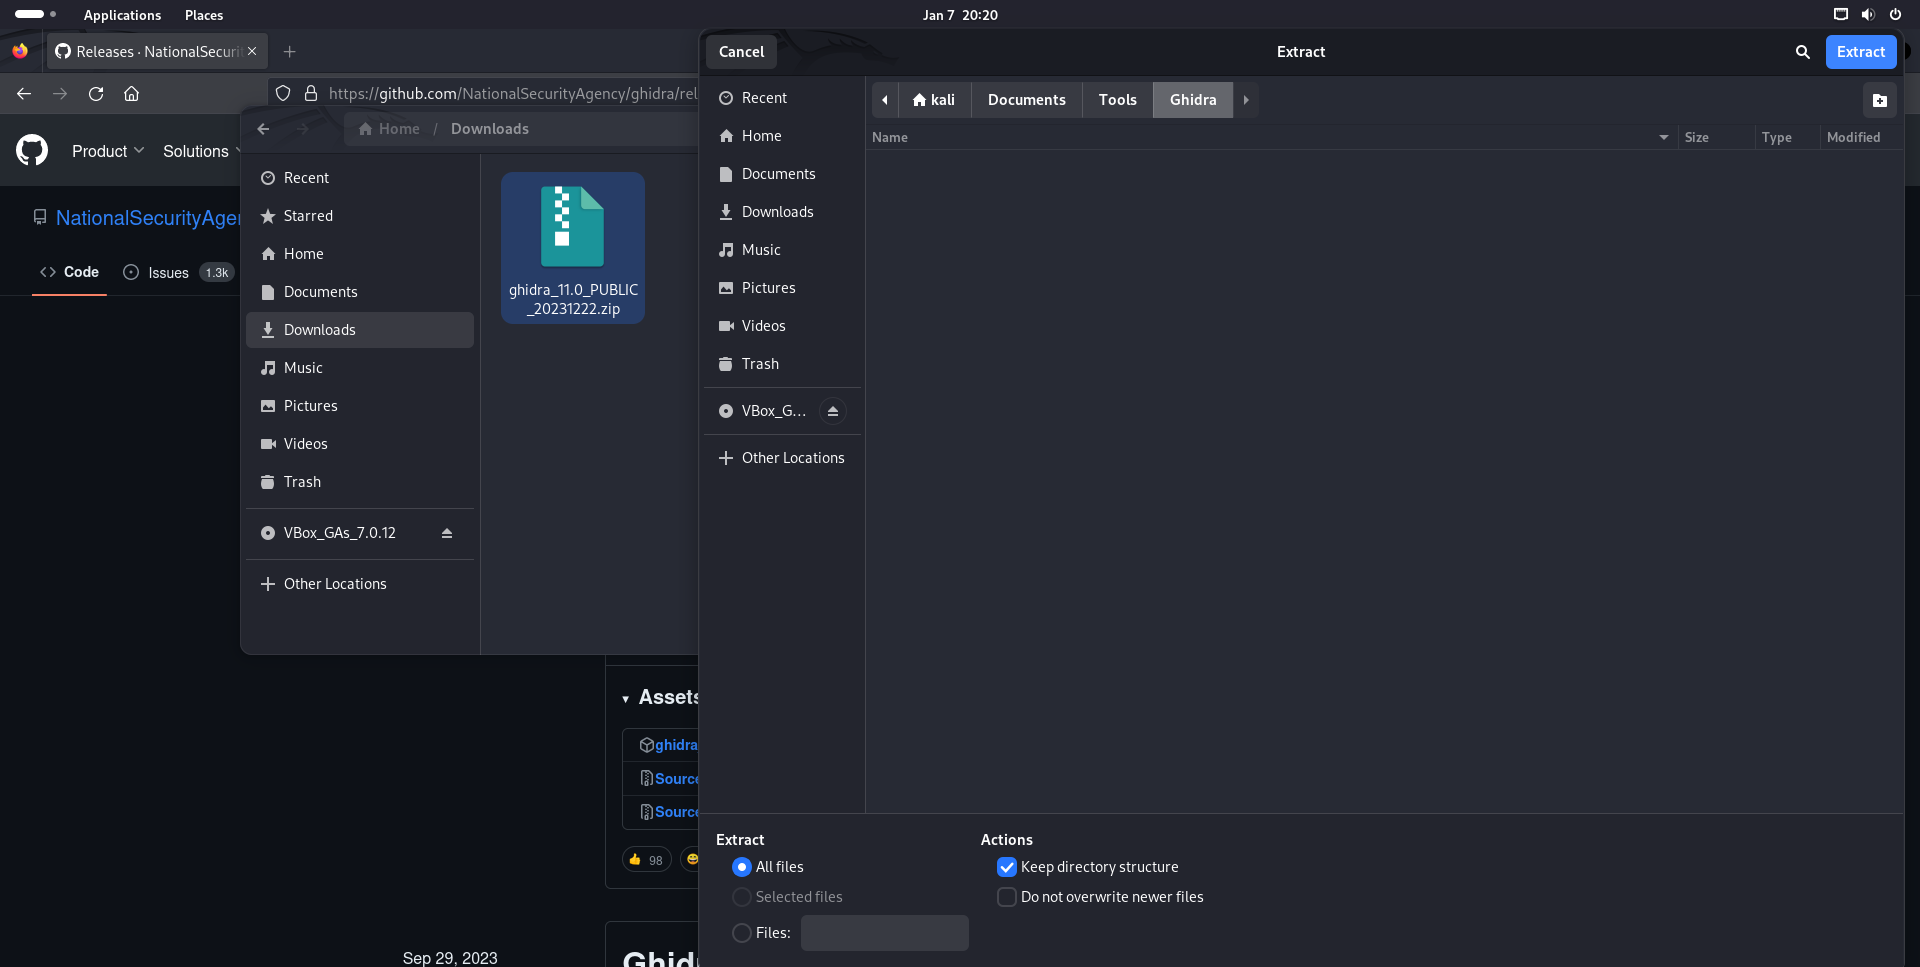
After downloading the zip file on the Ghidra Github page we can extract the contents into our destination folder. In this case I am extracting it to a 'Tools' directory in my Documents. Note: You can also unzip this download via the command line using the following command:
unzip [filepath]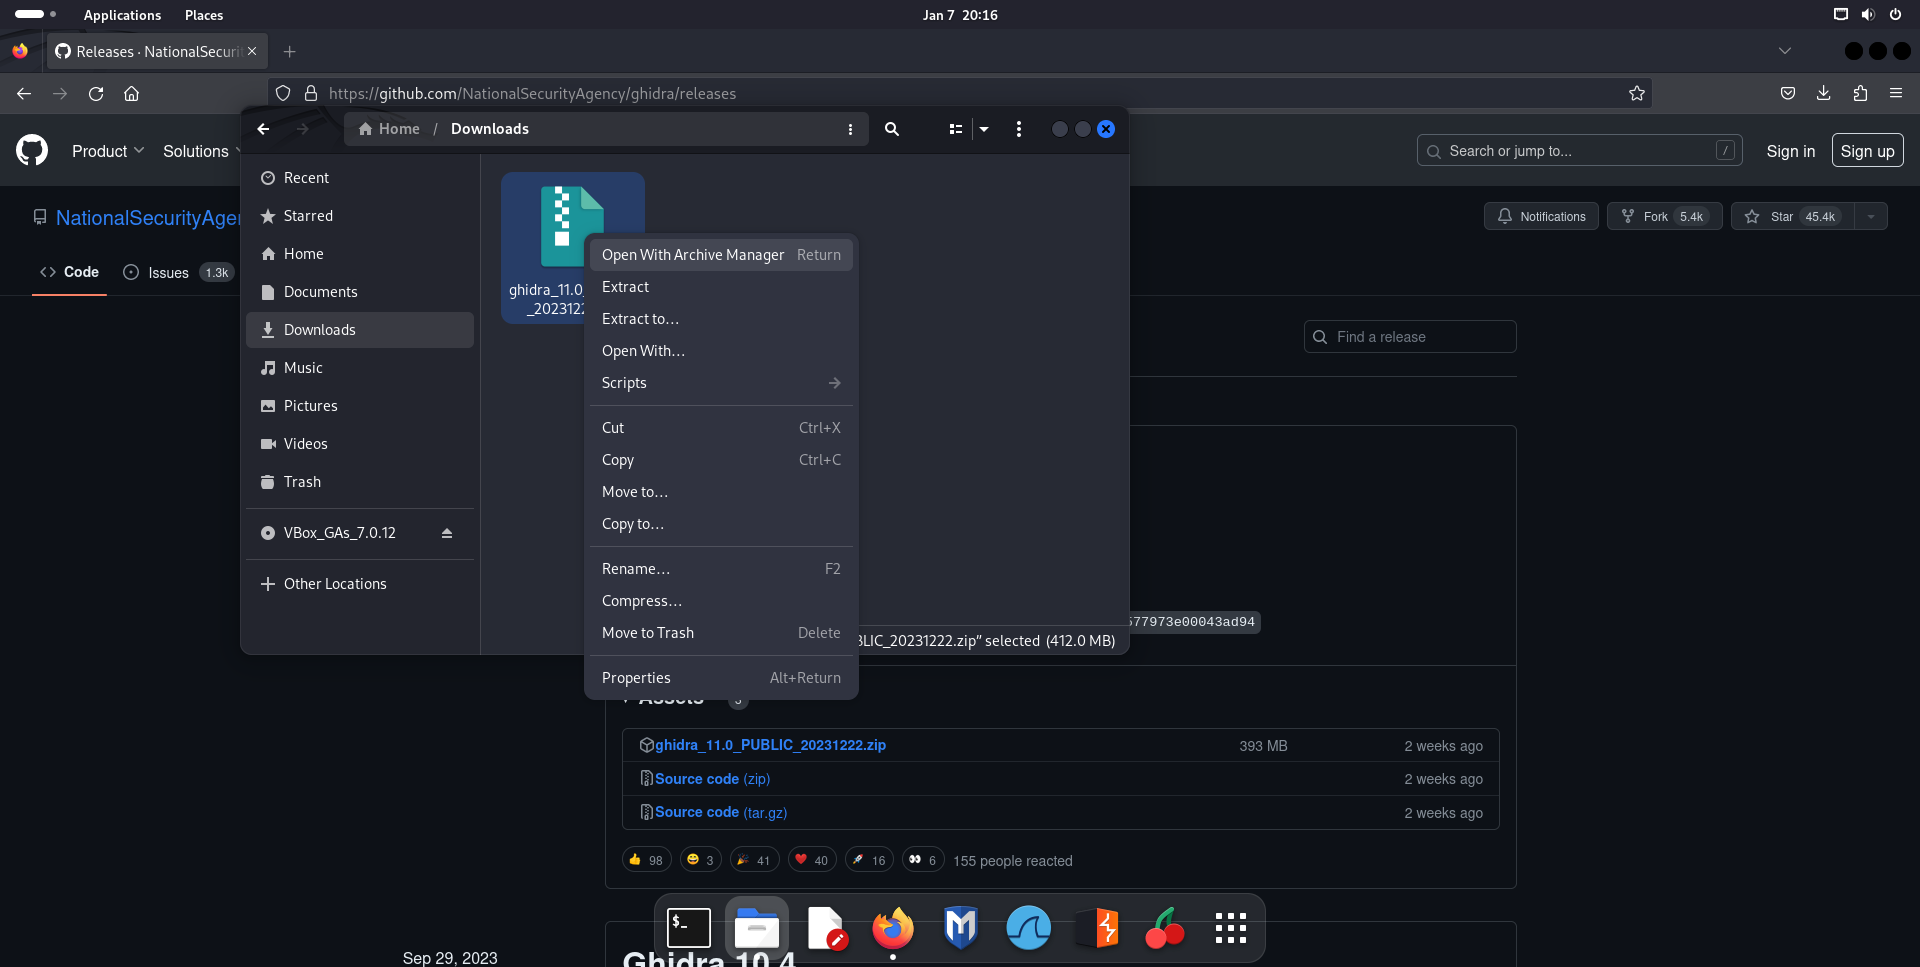
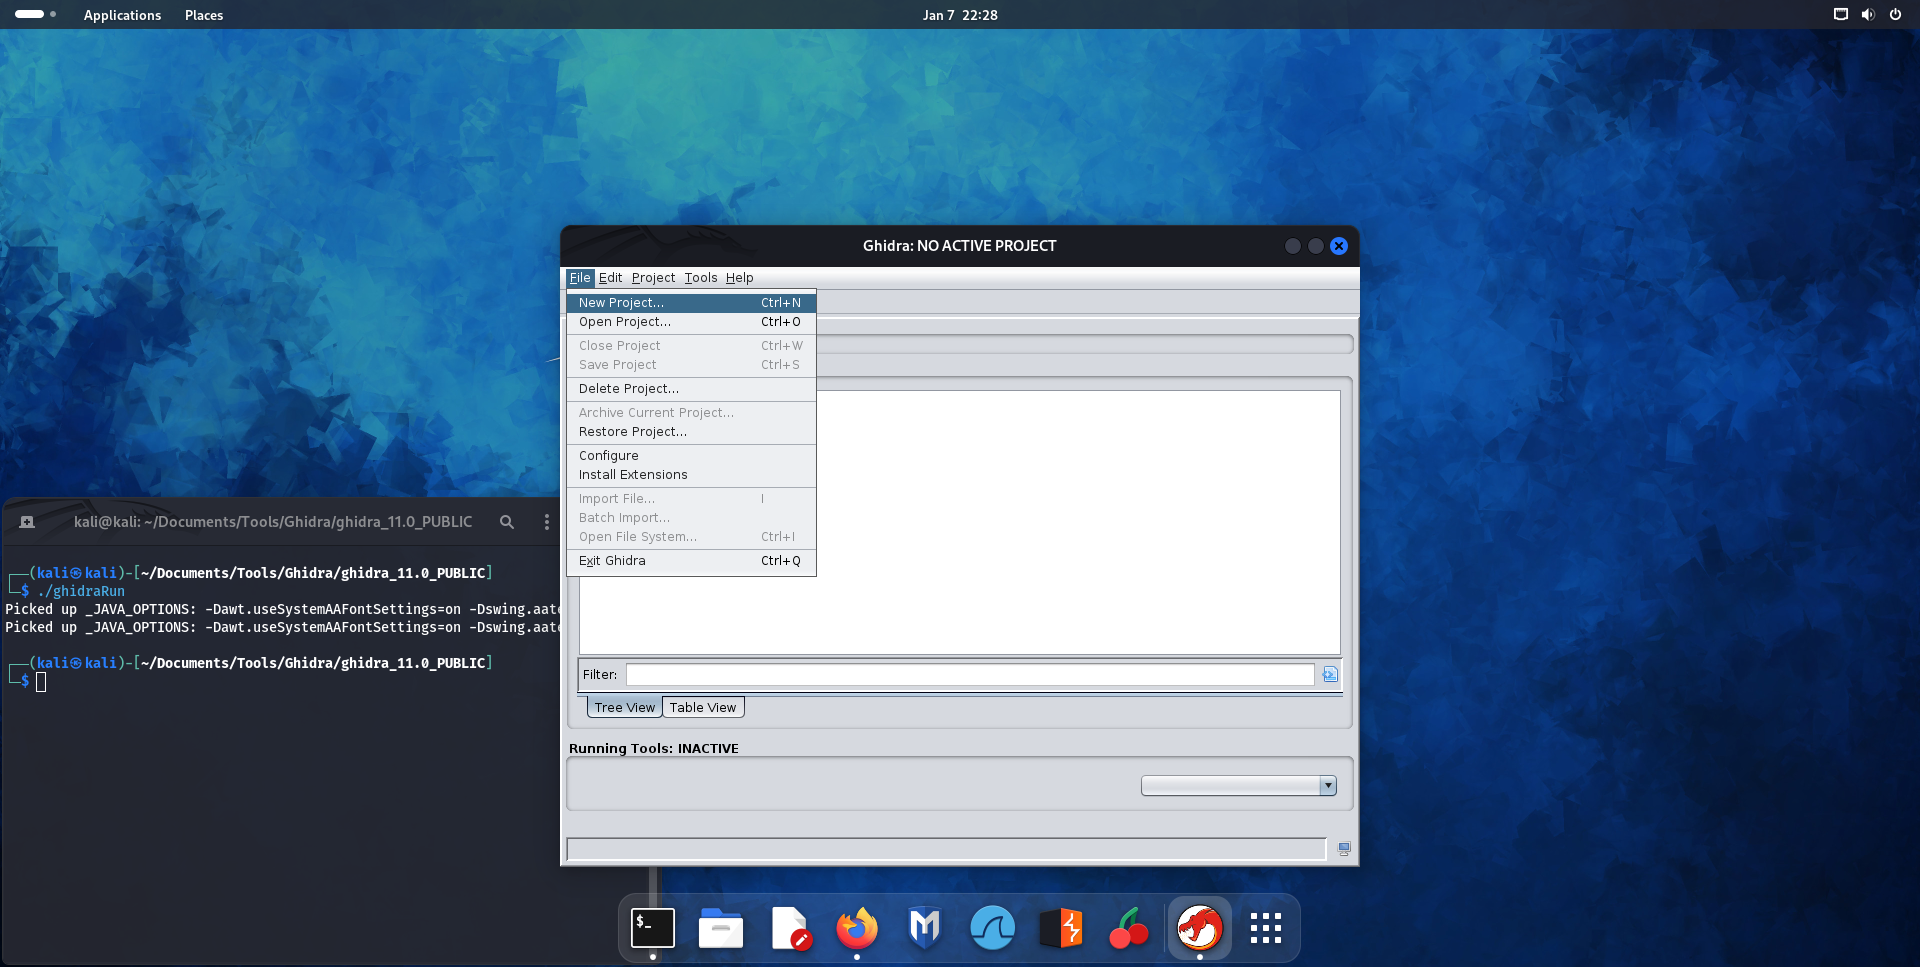
With this extracted we can open the directory and see a ghidraRun file which is marked as executable, this is the file that you need to execute in order to start Ghidra. If you are able to run Ghidra without error then congratulations your install is complete.
If, like me, you get a message about locating the JDK (Java Development Kit) you will need to continue with step two below. Ghidra is written in the Java programming language, so we need a compatible version of the JDK in order to run the program. If you would like to learn more about why that is you can read this excellent article by Pankaj on DigitalOcean about the JDK, JRE, and JVM: Difference between JDK, JRE, and JVM

Step Two: Java Development Kit
The first thing to check if Ghidra asks for a JDK path is if we already have a JDK installed, in which case we can provide the location to Ghidra and be up and running right away. To check if we have a version of the JDK we can use the command:
java --version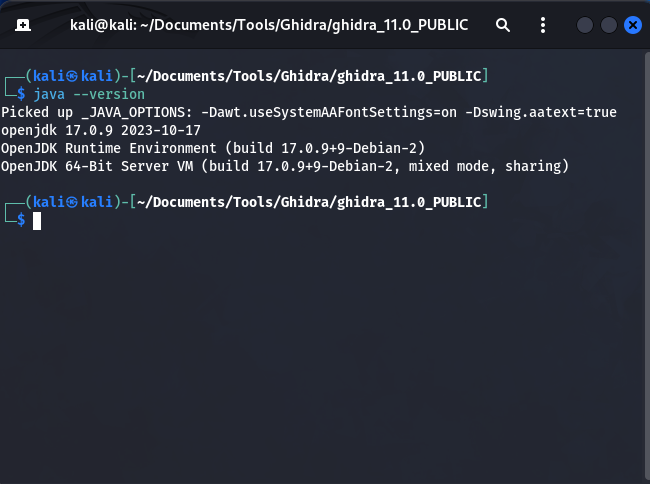
In this case we have a version installed and it should be compatible with Ghidra however for the purposes of this guide I will still go through the process required to get the appropriate JDK setup. According to the official Ghidra installation instructions the required version is JDK 17. To install the JDK you can use the apt package manager or pacman depending on your Linux distribution. In this case my distro is Debian based and has the apt package manager so I will be using the command:
sudo apt install openjdk-17-jdk -yA quick note about the above, the -y will automatically agree to use the requested space on your disk, allowing you to skip typing in the 'Y' to continue the installation.
A second note is that if you are unsure of the name for the package you want to install you can search the apt package manager to see the possible options, in this case the search might look like
apt search jdk
With the JDK installed Ghidra should be able to find the path to it without any additional intervention and running the ghidraRun script should get you up and running.
In the case that Ghidra cannot find your JDK version and the above command to see your java version returns the correct result you may need to find where that version of the JDK is install and provide it to the ghidraRun script when prompted.